
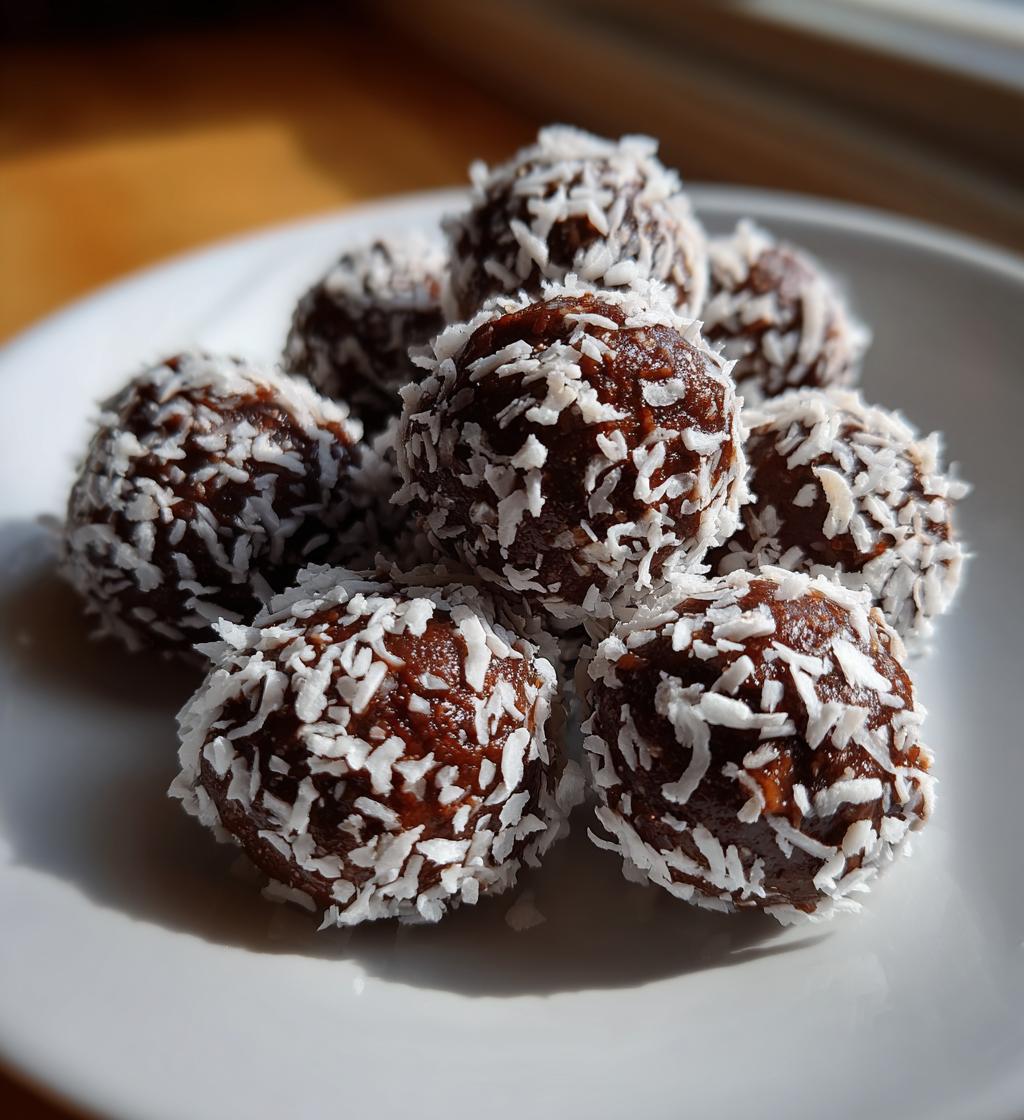
Chocolate Date Honey Balls: 7 Guilt-Free Bliss Bites
Let’s talk snacks! Who doesn’t love a delicious treat that’s also good for you? These Chocolate Date Honey Balls are not just a snack; they’re a little bite of heaven that’s packed with wholesome ingredients. Seriously, they’re like nature’s candy! I whip these up when I need a quick pick-me-up or something to satisfy my sweet tooth without all the guilt. Plus, they come together in a snap—no baking required! Just a few whirls in the food processor, and you’re on your way to enjoying these chewy, chocolaty delights. Trust me, once you try them, you’ll be hooked!
Ingredients for Chocolate Date Honey Balls
Gather these simple yet delightful ingredients to make your Chocolate Date Honey Balls. You’ll find everything you need right in your pantry! Here’s what you’ll need:
- 1 cup of pitted dates – Make sure they’re nice and soft for that perfect sweetness!
- 1/2 cup of unsweetened cocoa powder – This gives our treats that rich chocolatey flavor.
- 1/4 cup of honey – A natural sweetener that pulls everything together beautifully.
- 1/2 cup of nuts (e.g., almonds or walnuts) – These add a lovely crunch and healthy fats.
- 1/4 cup of shredded coconut (optional) – For a tropical twist and extra texture!
That’s it! Simple, wholesome ingredients that work together to create a deliciously satisfying snack. Let’s get blending!
How to Prepare Chocolate Date Honey Balls
Now that you’ve got your ingredients, let’s get to the fun part—making these tasty bites! It’s super simple and satisfying, and I promise you’ll be amazed at how quickly they come together. Follow these steps, and you’ll have a batch of Chocolate Date Honey Balls ready to enjoy in no time!
Step-by-Step Instructions
Let’s break this down step by step to make it easy peasy!
Blending the Base
First, grab your food processor. Toss in the pitted dates and your choice of nuts. I usually go for almonds because they add a delightful crunch, but walnuts work just as well! Blend everything until it’s finely chopped but not completely smooth. You want a bit of texture here! It should look like a crumbly mixture that holds together when pressed. If it’s too dry, don’t hesitate to add a few more dates!
Mixing Ingredients
Next up, it’s time to add the rich unsweetened cocoa powder and honey to the mix. This is where the magic happens! Pulse the mixture until everything is well combined and smooth—think of it as creating a chocolatey dough. You might need to stop and scrape down the sides a couple of times to make sure everything gets mixed in evenly. The goal is a thick, sticky consistency that you can easily mold into balls.
Forming the Balls
Now comes the fun part—forming the balls! Using your hands, take small amounts of the mixture and roll them into balls about the size of a one-inch marble. Don’t stress too much about making them perfect; they’ll still taste amazing! If you find the mixture is a bit sticky, wet your hands with a little water to help with rolling. I love to roll some of them in shredded coconut for that extra flair, but that’s totally optional!
Refrigeration
Once you’ve shaped all your balls, place them on a plate or in a container and pop them in the refrigerator for at least 30 minutes. This chilling time is crucial because it helps them firm up and makes for a delightful chewy texture. Trust me, they taste even better after they’ve been chilled! After that, they’re all set to enjoy whenever you need a quick snack!
Why You’ll Love This Recipe
- Quick and easy to make—perfect for busy days!
- Healthy ingredients that satisfy your sweet cravings without the guilt.
- No baking required; just blend, roll, and chill!
- Customizable—add your favorite nuts or roll in different toppings!
- Great for meal prep; they keep well in the fridge for snacking throughout the week.
- Rich chocolate flavor that feels like a treat but is full of nutrients.
- Kid-friendly and perfect for lunchboxes or after-school snacks!
- Vegan and naturally sweetened—everyone can enjoy them!
Tips for Success
Before you dive into making these Chocolate Date Honey Balls, let me share some of my favorite tips to ensure you get the best results every time!
- Choose the right dates: Make sure to use soft, fresh pitted dates. If your dates are a bit dry, soak them in warm water for about 10 minutes to soften them up. This will help create a smoother mixture!
- Adjust sweetness: I love a good balance of flavors, so feel free to play around with the amount of honey. If you prefer a less sweet snack, start with less honey and add more until it suits your taste.
- Don’t over-blend: When blending the dates and nuts, be careful not to overdo it! You still want some texture, so stop blending when it’s crumbly and holds together when pressed.
- Experiment with nuts: While almonds and walnuts are my go-to, you can get creative! Try using pecans, cashews, or even a mix of nuts for a unique flavor profile.
- Roll with toppings: For a fun twist, roll your balls in different toppings like chia seeds, crushed nuts, or even a dusting of cocoa powder. It adds a nice touch and a little extra crunch!
- Make a big batch: These little bites are perfect for meal prep! Make a double batch and store them in an airtight container in the fridge. They’ll last for about a week, so you’ll always have a healthy snack on hand.
- Use a mini ice cream scoop: If you want perfectly sized balls, grab a mini ice cream scoop! It makes the process quicker and ensures your treats are uniform in size.
With these tips in your back pocket, you’re all set to whip up the best Chocolate Date Honey Balls ever! Enjoy the process, and don’t forget to sneak a few bites along the way—they’re just too good to resist!
Nutritional Information Disclaimer
Just a little note on nutrition! The values provided for these Chocolate Date Honey Balls are estimates and can vary based on the specific ingredients and brands you use. I always recommend checking labels for the most accurate information. So, while I strive to give you the best guidance, keep in mind that the nutritional content might differ slightly from what’s listed here. Happy snacking!
Serving Suggestions
Alright, let’s talk about how to enjoy these delightful Chocolate Date Honey Balls! They’re so versatile, and I love finding new ways to make them even more fun. Here are some of my favorite serving ideas:
- Snack Time Boost: Enjoy them as a quick energy boost anytime you need a pick-me-up! They’re perfect for that mid-afternoon slump when you need a little something to keep you going.
- On-the-Go Treat: Pack a few in your bag for a healthy snack during busy days. They’re easy to transport and make for a great post-workout treat!
- Lunchbox Delight: Toss a couple into your kids’ lunchboxes for a sweet surprise. They’ll love them, and you can feel good knowing they’re made from wholesome ingredients.
- With a Hot Beverage: Pair these chocolatey bites with your favorite tea or coffee. The rich flavors complement each other beautifully and make for a cozy snack moment!
- Party Platter: Arrange them on a platter for a fun party snack. They’re always a hit at gatherings, and you can even add some fresh fruit or nuts around them for variety.
- Chocolate Dipping: If you’re feeling extra indulgent, try melting some dark chocolate and dipping the balls for a decadent treat. Just let them cool on parchment paper after dipping!
- With Yogurt: Crumble a few over a bowl of yogurt for a delightful breakfast or snack. The combination of flavors and textures is simply divine!
However you choose to enjoy them, I promise these Chocolate Date Honey Balls will bring a smile to your face. They’re not just tasty; they’re a little moment of joy in every bite! So grab a few and get ready to savor a wholesome treat!
Storage & Reheating Instructions
Now that you’ve whipped up these delightful Chocolate Date Honey Balls, you might be wondering how to store them! No worries, I’ve got you covered. Proper storage is key to keeping them fresh and tasty for as long as possible.
First off, make sure to place your Chocolate Date Honey Balls in an airtight container. This helps prevent them from drying out and losing that amazing chewy texture we all love. You can store them in the refrigerator, where they’ll keep nicely for about a week. I often make a batch at the start of the week so I have a healthy snack ready to go!
If you’re looking to keep them for a longer period, you can also freeze these little gems! Just pop them in a freezer-safe container or zip-top bag, and they should last for up to two months. When you’re ready to enjoy them, simply take out the desired amount and let them thaw in the fridge for a couple of hours. No need to reheat—just enjoy them chilled or at room temperature!
So, whether you’re snacking on them fresh or pulling out a frozen stash, these Chocolate Date Honey Balls are always a treat. Happy snacking!
Print
Chocolate Date Honey Balls: 7 Guilt-Free Bliss Bites
- Prep Time: 10 minutes
- Cook Time: 0 minutes
- Total Time: 40 minutes
- Yield: 12 balls 1x
- Category: Snack
- Method: No-bake
- Cuisine: American
- Diet: Vegan
Description
A delicious and healthy snack made from chocolate, dates, and honey.
Ingredients
- 1 cup of pitted dates
- 1/2 cup of unsweetened cocoa powder
- 1/4 cup of honey
- 1/2 cup of nuts (e.g., almonds or walnuts)
- 1/4 cup of shredded coconut (optional)
Instructions
- Blend the dates and nuts in a food processor until finely chopped.
- Add cocoa powder and honey, then blend until smooth.
- Form the mixture into small balls using your hands.
- Roll the balls in shredded coconut if desired.
- Place the balls on a plate and refrigerate for at least 30 minutes.
Notes
- Store in an airtight container in the refrigerator.
- These can be made ahead of time.
- Adjust sweetness by adding more or less honey.
Nutrition
- Serving Size: 1 ball
- Calories: 100
- Sugar: 8g
- Sodium: 1mg
- Fat: 4g
- Saturated Fat: 1g
- Unsaturated Fat: 3g
- Trans Fat: 0g
- Carbohydrates: 14g
- Fiber: 2g
- Protein: 2g
- Cholesterol: 0mg
Keywords: Chocolate Date Honey Balls


