
Christmas Cookies: 5 Sweet Tips to Spread Holiday Cheer
Ah, there’s just something magical about the holiday season, isn’t there? The twinkling lights, the cozy evenings, and the sweet aroma of freshly baked cookies wafting through the house. When it comes to holiday traditions, baking Christmas cookies is at the top of my list! I can still remember the excitement of gathering in the kitchen with family, flour dusting our noses, and laughter filling the air as we rolled dough and decorated with sprinkles. These cookies are not just treats; they’re little bites of joy that bring people together. Whether you’re sharing them at a festive gathering or sneaking a few for yourself (I won’t tell!), these cookies are sure to spread cheer. So, let’s roll up our sleeves and dive into this delicious adventure!
Ingredients for Christmas Cookies
Gathering the right ingredients is key to making the best Christmas cookies, so let’s make sure we have everything we need. Here’s what you’ll want to have on hand:
- 2 3/4 cups all-purpose flour
- 1 teaspoon baking soda
- 1/2 teaspoon salt
- 1 cup unsalted butter, softened (make sure it’s nice and creamy!)
- 1 1/2 cups white sugar
- 1 egg (large, please!)
- 1 teaspoon vanilla extract (the secret to that warm flavor)
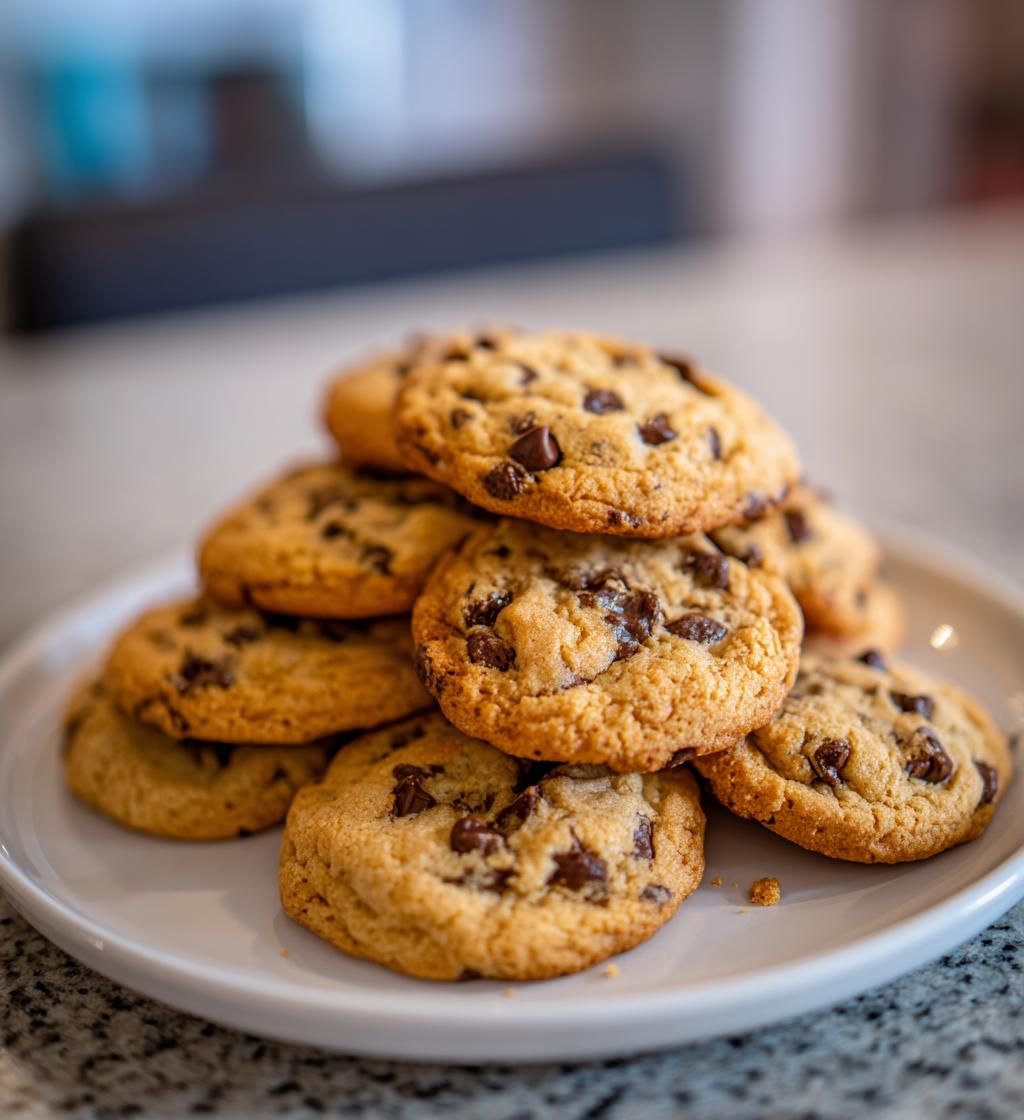
- 3 cups chocolate chips (because who doesn’t love chocolate?)
- 1 cup chopped walnuts (optional, but they add a nice crunch!)
With these ingredients ready, you’ll be all set to create some delightful cookies that will warm your heart and home during this festive season!
How to Prepare Christmas Cookies
Now that we’ve got our ingredients ready, let’s jump into the fun part—baking these delightful Christmas cookies! It’s all about following the steps and enjoying the process. Let’s get started!
Preheat and Mix Dry Ingredients
First things first, preheat your oven to 350°F (175°C). Trust me, this is crucial! Preheating ensures that your cookies bake evenly and come out just right. While that’s warming up, grab a bowl and mix together 2 3/4 cups of flour, 1 teaspoon of baking soda, and 1/2 teaspoon of salt. This dry mix will give your cookies that perfect structure!
Cream Butter and Sugar
In a separate large bowl, it’s time to cream together 1 cup of softened unsalted butter and 1 1/2 cups of white sugar. Use a hand mixer or a stand mixer on medium speed until it’s smooth and fluffy—about 2-3 minutes. You want a light, creamy consistency that looks almost like whipped clouds. Oh, the smell is heavenly already!
Combine Wet and Dry Ingredients
Next, beat in 1 egg and 1 teaspoon of vanilla extract into the butter-sugar mixture. Once that’s all mixed up, gradually blend in your dry ingredients. I like to add it in thirds, mixing gently after each addition. This helps avoid a flour explosion and ensures everything is well combined!
Add Chocolate Chips and Walnuts
Now comes the best part! Stir in 3 cups of chocolate chips and 1 cup of chopped walnuts (if you’re using them). Make sure these are evenly distributed throughout the dough. Trust me, you want chocolate in every bite!
Drop Cookies onto Baking Sheets
Using a spoon or a cookie scoop, drop rounded spoonfuls of dough onto ungreased cookie sheets, spacing them about 2 inches apart. This gives them room to spread out while baking—nobody wants a cookie blob!
Bake and Cool
Pop those trays into the preheated oven and bake for 10 to 12 minutes. Keep an eye out for the edges turning golden brown; that’s your cue they’re ready! Once baked, remove them from the oven and let the cookies cool on the sheets for a few minutes before transferring them to a wire rack. This helps them firm up nicely!
Why You’ll Love This Recipe
If you’re looking for a cookie recipe that captures the essence of the holiday spirit, these Christmas cookies are it! Here’s why you’ll adore making them:
- Quick and Easy: With just a few simple steps, you’ll have delicious cookies ready in no time—perfect for those busy holiday days!
- Perfect for Sharing: These cookies make great gifts! Package them up in festive tins or plates to share with family, friends, and neighbors.
- Customizable: Feel free to switch up the chocolate chips for your favorites—like white chocolate or caramel. You can even add a dash of peppermint for a holiday twist!
- Crowd-Pleaser: Everyone loves a homemade cookie, and these are no exception. They’re soft, chewy, and full of flavor—sure to impress at any gathering!
- Memory Maker: Baking these cookies can become a cherished family tradition, creating sweet memories that last for years to come.
So roll up your sleeves and get ready to bake some magic this holiday season!
Tips for Success
To ensure your Christmas cookies turn out perfectly every time, I’ve got a few handy tips that I swear by! First, make sure your butter is at room temperature—this really helps achieve that creamy texture when creaming it with sugar. If you forget to take it out ahead of time, just pop it in the microwave for a few seconds, but be careful not to melt it!
When mixing, I recommend using a gentle hand. Overmixing can lead to tough cookies, so mix just until the ingredients are combined—especially when adding the dry ingredients to the wet. And don’t forget, cookie dough benefits from a little chill time in the fridge if you’re not baking right away; this helps prevent spreading!
Finally, store any leftover cookies in an airtight container to keep them soft and chewy. You can even layer them with parchment paper to avoid sticking. Happy baking!
Nutritional Information for Christmas Cookies
When it comes to enjoying these delightful Christmas cookies, it’s always nice to know what you’re indulging in! Here’s a quick breakdown of the typical nutritional values per cookie. Keep in mind that these are estimates and can vary based on ingredient brands and sizes:
- Calories: 200
- Fat: 10g
- Saturated Fat: 5g
- Unsaturated Fat: 3g
- Trans Fat: 0g
- Cholesterol: 20mg
- Sodium: 150mg
- Carbohydrates: 25g
- Fiber: 1g
- Sugar: 15g
- Protein: 2g
So, as you enjoy these cookies during the holiday festivities, you can feel a little more informed about your sweet treats. Happy indulging!
FAQ About Christmas Cookies
Can I use different types of chocolate?
Absolutely! One of the best things about these Christmas cookies is how versatile they are. You can swap out the chocolate chips for your favorites—try using white chocolate, dark chocolate, or even peanut butter chips for a fun twist! If you’re feeling adventurous, mix in some chopped candy bars or festive chocolate chunks to add a little holiday flair. Experimenting with different chocolates allows you to customize the flavor to your liking!
How should I store leftover cookies?
To keep your Christmas cookies fresh and delicious, store them in an airtight container at room temperature. This will help maintain their soft and chewy texture. If your cookies have toppings or frosting, you might want to layer them with parchment paper to prevent sticking. Just remember to keep them away from direct sunlight and heat—this will keep them from drying out!
Can I freeze these cookies?
You can definitely freeze these cookies! Just let them cool completely, then place them in a single layer on a baking sheet and freeze until solid. After that, you can transfer them to an airtight container or a freezer bag, separating layers with parchment paper. They can last in the freezer for up to 3 months! When you’re ready to enjoy them, just thaw them in the fridge overnight. Keep in mind that the texture might be slightly different after freezing, but they’ll still taste amazing!
Storage & Reheating Instructions
Storing your leftover Christmas cookies properly is key to keeping them fresh and delicious! Once they’ve completely cooled, place your cookies in an airtight container at room temperature. This will help them maintain their soft and chewy texture for about a week. If you want to keep them even longer, layer them with parchment paper to keep them from sticking together.
If you find yourself with more cookies than you can eat right away, freezing is a fantastic option! Just make sure they’re fully cooled before placing them in a single layer on a baking sheet. Freeze them until solid, then transfer to an airtight container or a freezer bag. They can last up to 3 months in the freezer!
When you’re ready to enjoy those frozen cookies, simply thaw them in the fridge overnight. No need to reheat if you like them soft and cool, but if you prefer a warm cookie fresh from the oven, pop them in at 350°F (175°C) for about 5-7 minutes. This will restore that delightful just-baked taste and aroma! Enjoy every bite!
Print
Christmas Cookies: 5 Sweet Tips to Spread Holiday Cheer
- Prep Time: 20 minutes
- Cook Time: 12 minutes
- Total Time: 32 minutes
- Yield: 48 cookies 1x
- Category: Dessert
- Method: Baking
- Cuisine: American
- Diet: Vegetarian
Description
Delicious Christmas cookies perfect for the holiday season.
Ingredients
- 2 3/4 cups all-purpose flour
- 1 teaspoon baking soda
- 1/2 teaspoon salt
- 1 cup unsalted butter, softened
- 1 1/2 cups white sugar
- 1 egg
- 1 teaspoon vanilla extract
- 3 cups chocolate chips
- 1 cup chopped walnuts
Instructions
- Preheat oven to 350°F (175°C).
- In a bowl, mix flour, baking soda, and salt.
- In another bowl, cream together butter and sugar until smooth.
- Beat in egg and vanilla.
- Gradually blend in the dry ingredients.
- Stir in chocolate chips and walnuts.
- Drop by rounded spoonfuls onto ungreased cookie sheets.
- Bake for 10 to 12 minutes, until edges are golden.
Notes
- Store cookies in an airtight container.
- Cookies can be frozen for later use.
- Feel free to add festive sprinkles on top.
Nutrition
- Serving Size: 1 cookie
- Calories: 200
- Sugar: 15g
- Sodium: 150mg
- Fat: 10g
- Saturated Fat: 5g
- Unsaturated Fat: 3g
- Trans Fat: 0g
- Carbohydrates: 25g
- Fiber: 1g
- Protein: 2g
- Cholesterol: 20mg
Keywords: christmas cookies


