
Dubai Chocolate Tart: 7 Steps to Heavenly Indulgence
Oh my gosh, let me tell you about this Dubai Chocolate Tart! It’s like a little slice of heaven that transports you straight to the vibrant streets of Dubai with every bite. When I first tasted a similar tart on my travels, I was completely blown away by the rich flavors and the velvety texture. I knew I had to recreate it in my own kitchen, and boy, did I have fun doing it!
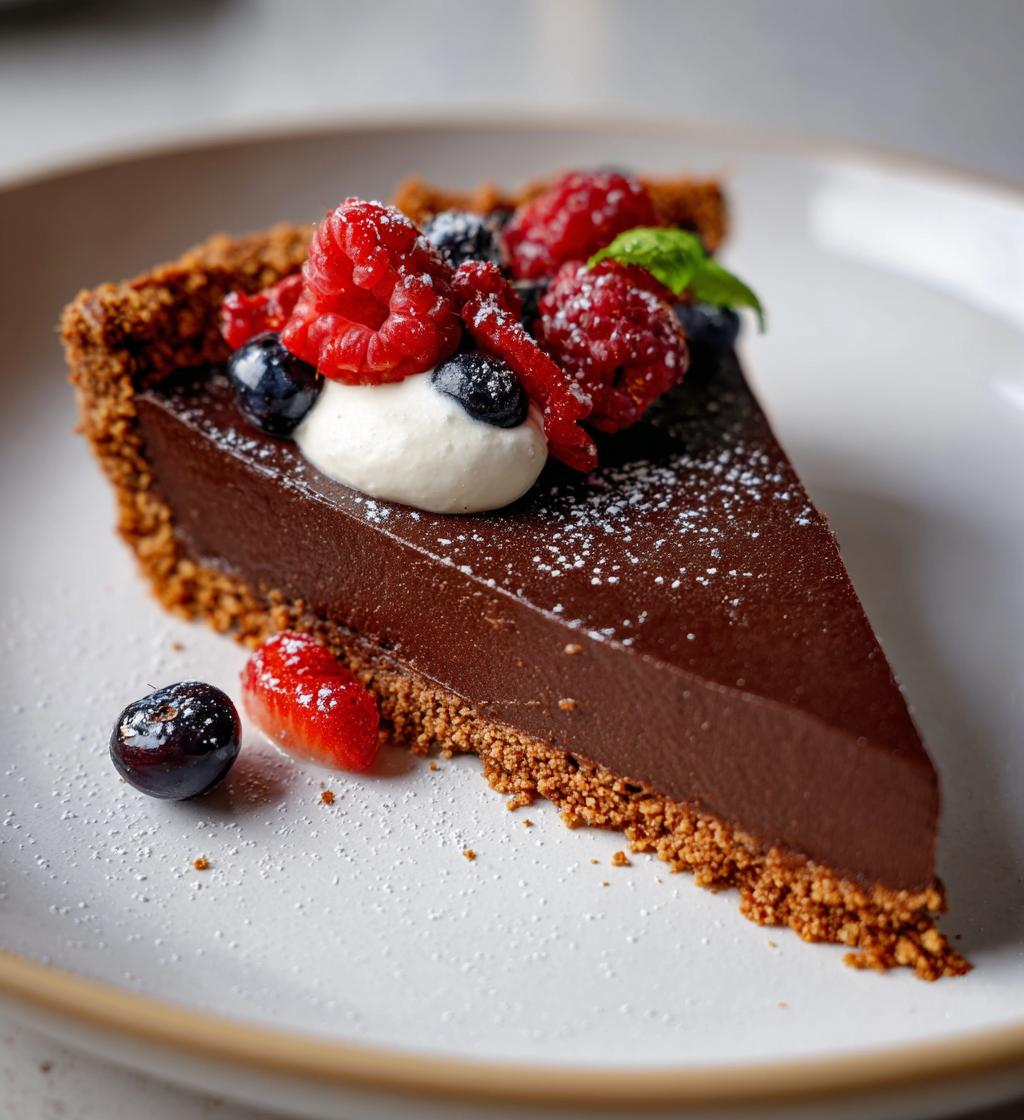
This tart combines the luxuriousness of dark chocolate with a buttery, crumbly crust that just melts in your mouth. It’s such a unique twist on traditional desserts, and I love serving it at gatherings because it never fails to impress. Trust me, the aroma of chocolate wafting through your kitchen will have everyone asking for the recipe before they even take a bite!
Whether you’re hosting a fancy dinner or just want to treat yourself on a cozy night in, this tart is the perfect indulgence. So grab your apron, and let’s dive into the deliciousness that is the Dubai Chocolate Tart! You won’t regret it, I promise!
Ingredients for Dubai Chocolate Tart
Here’s everything you’ll need to whip up this decadent delight! I promise, the ingredients are simple, but the flavor is anything but. Make sure you have these ready before we get started:
- 200g digestive biscuits
- 100g unsalted butter, melted
- 300g dark chocolate, chopped
- 200ml heavy cream
- 3 large eggs
- 100g sugar
- 1 tsp vanilla extract
Trust me, using high-quality dark chocolate really makes a difference in this tart. You’ll want to savor every bite, and the better the chocolate, the richer the flavor! So, get ready to create something truly special!
How to Prepare the Dubai Chocolate Tart
Alright, let’s get our hands a little chocolatey and dive into making this Dubai Chocolate Tart! I promise it’s easier than it sounds, and I’m here to guide you every step of the way. Just follow these steps, and soon you’ll have a glorious tart ready to impress!
Step 1: Preheat the Oven
First things first, preheat your oven to 180°C (350°F). This is super important because you want that perfect baking temperature to ensure the crust and filling bake beautifully. So, don’t skip this step—your tart will thank you later!
Step 2: Prepare the Crust
Now, grab those digestive biscuits and crush them up! You can use a food processor for this, or just put them in a zip-top bag and smash them with a rolling pin—it’s kind of fun! Once they’re all crumbly, mix them with the melted butter until everything is well combined. You want it to feel like wet sand.
Next, take your tart pan and press that mixture firmly into the bottom and up the sides. Make sure it’s even and compact, so it holds together nicely when baked. It’s like building a little chocolate fortress—how fun is that?
Step 3: Bake the Crust
Pop your crust into the preheated oven and bake it for about 10 minutes. The smell will start to fill your kitchen, and oh boy, it’s heavenly! Once baked, let it cool completely. This is crucial because you don’t want to add the filling to a hot crust—trust me, it’ll just mess everything up!
Step 4: Make the Chocolate Filling
While your crust is cooling, let’s whip up that luscious chocolate filling! In a saucepan, gently heat the heavy cream until it’s just about to boil—watch it carefully; nobody wants burnt cream! Then, pour the hot cream over the chopped dark chocolate and stir it all together until it’s smooth and glossy. This step is pure magic!
Step 5: Combine Ingredients
In a separate bowl, whisk together the eggs, sugar, and vanilla extract until it’s all blended and a bit frothy. Then, here comes the fun part—pour the chocolate mixture into the egg mixture and stir well. Just gently fold it in; you want to keep that lovely creamy texture without overmixing. It should look rich and irresistible!
Step 6: Fill and Bake
Now, carefully pour that dreamy chocolate filling into your cooled crust. It should pour in beautifully, filling every nook and cranny. Bake it in the oven for about 25 minutes or until the edges are set but the center still has a slight jiggle. That’s how you know it’ll be perfectly fudgy once it cools!
Step 7: Cooling and Serving
After baking, let your tart cool at room temperature for a bit before transferring it to the fridge to chill for at least an hour. This step helps all those flavors meld together beautifully! When you’re ready to serve, slice it up and consider adding a dollop of whipped cream or some fresh berries on top for an extra touch of elegance. Trust me, it makes every bite even more delightful!
Tips for Success
Alright, let’s make sure your Dubai Chocolate Tart turns out absolutely perfect! Here are some of my best tips to help you nail it every time:
- Choose Quality Chocolate: This is key! Go for a high-quality dark chocolate with at least 70% cocoa content. It’ll give your tart a deep, rich flavor that’s simply divine!
- Be Precise with Measurements: Baking is a science, so be sure to measure your ingredients accurately. A kitchen scale can be super handy for this, especially for the chocolate and biscuits.
- Don’t Overmix: When combining the chocolate and egg mixtures, mix just until combined. Overmixing can lead to a denser texture, and we want that silky smooth filling!
- Let It Cool Completely: Make sure your tart cools fully before slicing. This allows it to set properly, so you get those clean, gorgeous slices that look as good as they taste!
- Experiment with Flavor: Feel free to add a pinch of sea salt to the chocolate filling or some orange zest for a citrusy twist. It’s fun to play with flavors and find what you love!
- Serve Chilled: While the tart is delicious at room temperature, chilling it in the fridge for a bit enhances the flavors and makes it even more refreshing.
- Presentation Matters: When serving, a sprinkle of cocoa powder or a few fresh berries on top can elevate your tart to a whole new level. It’s all about that wow factor!
With these tips, you’ll be well on your way to mastering the Dubai Chocolate Tart. Happy baking, and get ready for compliments from everyone who gets a taste!
Nutritional Information
Now, let’s talk about the numbers! Here’s the estimated nutritional information for each slice of this scrumptious Dubai Chocolate Tart. Keep in mind that these values can vary a bit depending on the exact ingredients you use, but this should give you a good idea:
- Serving Size: 1 slice
- Calories: 350
- Fat: 23g
- Saturated Fat: 14g
- Unsaturated Fat: 7g
- Trans Fat: 0g
- Cholesterol: 100mg
- Sodium: 50mg
- Carbohydrates: 30g
- Fiber: 2g
- Sugar: 25g
- Protein: 5g
So, while this tart is definitely a treat, it’s also packed with delightful flavors and textures that make it totally worth it! Enjoy indulging in each bite, and remember, everything in moderation!
FAQ About Dubai Chocolate Tart
Got questions about the Dubai Chocolate Tart? Don’t worry, I’ve got you covered! Here are some of the most common queries I get, along with all the juicy details to help you out:
Can I use a different type of cookie for the crust?
Absolutely! If you can’t find digestive biscuits, feel free to use graham crackers, Oreo cookies, or even shortbread. Just crush them up and follow the same mixing steps!
How do I store leftovers?
If you have any leftovers (which is rare, but hey, it happens!), store the tart in an airtight container in the refrigerator. It’ll stay fresh for about 3-4 days. Just make sure to keep it covered so it doesn’t dry out!
Can I freeze the tart?
Yes, you can! Once it’s fully cooled, wrap it tightly in plastic wrap and then in foil. It should keep well in the freezer for about a month. Just thaw it in the fridge overnight before serving.
What can I substitute for heavy cream?
If you’re looking for a lighter option, you can use half-and-half or full-fat coconut milk for a dairy-free version. Just keep in mind that it might change the flavor slightly, but it’ll still be delicious!
Can I make this tart ahead of time?
Definitely! This tart is perfect for making a day or two in advance. Just prepare it, let it cool, and store it in the fridge. It actually tastes even better after chilling for a bit, as the flavors meld beautifully!
What toppings do you recommend?
I love serving this tart with a dollop of whipped cream or a handful of fresh berries. A sprinkle of sea salt or a drizzle of caramel sauce also takes it up a notch. Get creative and have fun with it!
How do I know when the tart is done baking?
You’ll want to look for the edges to be set while the center has a slight jiggle. It’ll firm up as it cools, so don’t worry if it seems a bit soft at first. Trust your instincts, and remember, it should look fudgy and divine!
Can I add flavors to the chocolate filling?
Absolutely! Feel free to experiment with a bit of espresso powder, orange zest, or even a splash of liqueur like Grand Marnier. Just remember that a little goes a long way, so start small.
I hope these FAQs help you out as you embark on your Dubai Chocolate Tart journey! If you have any other questions, don’t hesitate to ask. Happy baking!
Why You’ll Love This Recipe
- Decadent Flavor: The rich, dark chocolate combined with a buttery crust creates a flavor explosion that’s simply irresistible!
- Easy Preparation: With straightforward steps, this tart is accessible for both beginner and experienced bakers alike. You’ll feel like a pro!
- Impressive Presentation: This dessert looks elegant and sophisticated, making it the perfect showstopper for any gathering!
- Crowd-Pleaser: Everyone loves chocolate, and this tart is sure to wow your friends and family. It’s a guaranteed hit at parties!
- Versatile Serving Options: Whether you serve it plain, with whipped cream, or topped with berries, it’s delicious in every form!
- Make Ahead Friendly: It stores beautifully in the fridge, making it a fantastic dessert to prepare in advance.
- Rich Texture: The combination of creamy filling and crumbly crust gives every bite an incredible contrast that you won’t forget!
Storage & Reheating Instructions
Now, let’s talk about keeping that Dubai Chocolate Tart fresh and delicious! If you happen to have any leftovers (which is rare, but hey, it happens!), here’s how to store it properly:
- Refrigeration: Store the tart in an airtight container in the refrigerator. It’ll stay fresh for about 3-4 days. Just be sure to keep it covered so it doesn’t dry out or absorb any funky fridge odors!
- Freezing: If you want to save it for a later date, you can absolutely freeze it! Once it’s fully cooled, wrap the tart tightly in plastic wrap, then in aluminum foil. It should keep well in the freezer for about a month. When you’re ready to enjoy it again, just thaw it in the fridge overnight.
As for reheating, I recommend serving the tart chilled or at room temperature for the best flavor and texture. If you prefer it warm, you can pop individual slices in the microwave for about 10-15 seconds. Just be careful not to overheat it—nobody wants a chocolate lava explosion!
With these storage tips, you can savor the decadent goodness of your Dubai Chocolate Tart for days. Enjoy every last morsel!
Print
Dubai Chocolate Tart: 7 Steps to Heavenly Indulgence
- Prep Time: 20 minutes
- Cook Time: 35 minutes
- Total Time: 55 minutes
- Yield: 8 servings 1x
- Category: Dessert
- Method: Baking
- Cuisine: Middle Eastern
- Diet: Vegetarian
Description
A rich and decadent chocolate tart inspired by the flavors of Dubai.
Ingredients
- 200g digestive biscuits
- 100g unsalted butter, melted
- 300g dark chocolate, chopped
- 200ml heavy cream
- 3 large eggs
- 100g sugar
- 1 tsp vanilla extract
Instructions
- Preheat the oven to 180°C (350°F).
- Crush the digestive biscuits and mix with melted butter.
- Press the mixture into a tart pan to form the crust.
- Bake the crust for 10 minutes, then let it cool.
- In a saucepan, heat the cream until just boiling.
- Pour the hot cream over the chopped chocolate and stir until smooth.
- In a bowl, whisk the eggs, sugar, and vanilla extract together.
- Add the chocolate mixture to the egg mixture and stir well.
- Pour the filling into the cooled crust.
- Bake for 25 minutes or until set.
- Let it cool before serving.
Notes
- Serve with whipped cream or fresh berries.
- Store leftovers in the fridge.
- Use high-quality chocolate for best results.
Nutrition
- Serving Size: 1 slice
- Calories: 350
- Sugar: 25g
- Sodium: 50mg
- Fat: 23g
- Saturated Fat: 14g
- Unsaturated Fat: 7g
- Trans Fat: 0g
- Carbohydrates: 30g
- Fiber: 2g
- Protein: 5g
- Cholesterol: 100mg
Keywords: Dubai Chocolate Tart, dessert, chocolate tart, Middle Eastern dessert


