
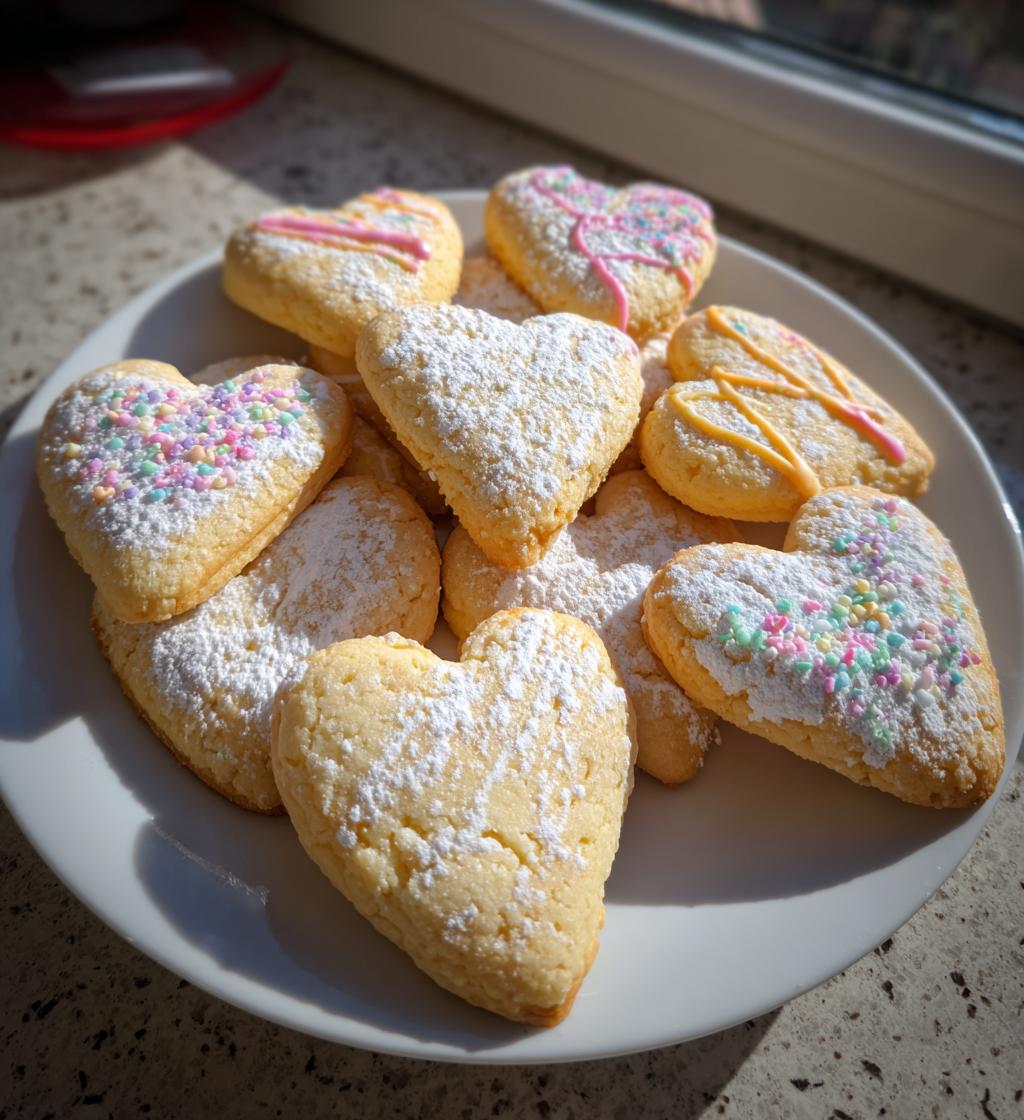
Heart Cookie Cutter: 5 Ways to Bake Pure Happiness
Oh, the sheer joy of baking heart-shaped cookies! There’s something so delightful about rolling out dough and watching those cute little love shapes come to life. I remember the first time I used my Heart Cookie Cutter—it was a spontaneous Saturday afternoon, and I just wanted to fill the house with sweet smells and laughter. And let me tell you, it did not disappoint! The buttery aroma wafting through the kitchen, the excitement of cutting out the perfect hearts, it’s just pure happiness. These cookies are not just delicious; they’re a hug in cookie form! Whether you’re making them for a special someone, a party, or just because you feel like it, this recipe is super simple and incredibly fun! So, grab your Heart Cookie Cutter, and let’s get baking!
Ingredients List
- 2 cups all-purpose flour: This is the base of your cookies, giving them that lovely structure and texture.
- 1 cup unsalted butter, softened: Make sure it’s nice and soft for easy mixing—this adds rich flavor and helps create that melt-in-your-mouth goodness!
- 1 cup granulated sugar: This sweetener is essential for that delightful sweetness and golden edges.
- 1 large egg: It binds everything together and adds moisture to the dough.
- 1 tsp vanilla extract: Don’t skip this! It brings a warm, inviting flavor that makes your cookies irresistible.
- 1/2 tsp baking powder: This is your secret leavening agent that helps the cookies rise ever so slightly and become tender.
- 1/4 tsp salt: Just a pinch! It enhances the sweetness and balances the flavors perfectly.
How to Prepare Instructions
Preheat and Prepare
First things first, you’ll want to preheat your oven to 350°F (175°C). This is super important because it ensures your cookies bake evenly and to perfection. While that’s heating up, take a moment to clear your workspace. Gather all your ingredients and tools. Trust me, it makes the whole process smoother and more enjoyable!
Mixing the Ingredients
Now, let’s get mixing! In a large bowl, use a hand mixer or stand mixer to cream together the softened butter and granulated sugar. Beat them together until the mixture is light and fluffy—this should take about 2-3 minutes. Next, add in the egg and vanilla extract. Mix until everything is well combined. In a separate bowl, whisk together the all-purpose flour, baking powder, and salt. This step ensures that your dry ingredients are evenly distributed, which is key for great texture!
Forming the Dough
Once your wet and dry ingredients are ready, it’s time to combine them! Gradually add the dry mix to the wet mixture, stirring gently until a dough forms. Don’t overmix! When everything is just combined, wrap the dough in plastic wrap and pop it in the refrigerator for about 30 minutes. Chilling the dough makes it easier to handle, and it helps your cookies maintain their shape while baking. Oops, I almost forgot—use this time to clean up a bit!
Cutting and Baking Cookies
After your dough has chilled, sprinkle some flour on your countertop and roll it out to about 1/4 inch thick. This is where the magic happens! Grab your Heart Cookie Cutter and start cutting out those adorable shapes. Place the heart cookies on a baking sheet lined with parchment paper, making sure to leave a little space between each one. Now, it’s baking time! Pop them in the oven and let them bake for about 10-12 minutes, or until the edges are lightly golden. Keep an eye on them, as oven times can vary. Once they’re done, let them cool completely before you dive into decorating!
Why You’ll Love This Recipe
- Simple Ingredients: You probably have most of these ingredients on hand already—no complicated shopping trips!
- Quick Prep Time: With just 15 minutes of prep and 12 minutes of baking, you’ll have fresh cookies in no time.
- Delicious Taste: Buttery, sweet, and just the right amount of vanilla—these cookies are a crowd-pleaser!
- Perfect for Any Occasion: Whether it’s a birthday, Valentine’s Day, or just a random Tuesday, these heart-shaped cookies fit the bill.
- Fun to Decorate: Let your creativity shine with icing, sprinkles, or chocolate—each cookie can be a masterpiece!
- Great for Kids: Involve the little ones in cutting shapes and decorating; it’s a fantastic bonding activity!
- Customizable: Feel free to add in your favorite flavors or mix-ins, like chocolate chips or nuts, for a personal twist!
Tips for Success
Alright, let’s talk about making these heart-shaped cookies absolutely perfect! I’ve gathered a few pro tips that I swear by, and they might just elevate your cookie game to the next level.
- Room Temperature Butter: Make sure your butter is softened to room temperature before you start mixing. This helps achieve that light and fluffy texture when creaming with sugar. If it’s too cold, your cookies might turn out dense.
- Chill the Dough: Don’t skip the chilling step! Refrigerating the dough for 30 minutes not only makes it easier to roll out, but it also keeps those adorable heart shapes intact while baking. Trust me, it’s worth the wait!
- Keep an Eye on Baking Time: Every oven is a little different, so start checking your cookies at the 10-minute mark. You want them to be lightly golden around the edges, but not too browned. A little attention goes a long way!
- Experiment with Flavors: Feel free to add a pinch of cinnamon or lemon zest for a fun twist! You can also mix in chocolate chips or nuts for added texture. This is your cookie adventure, so make it your own!
- Storage Tips: Once your cookies are cooled, store them in an airtight container at room temperature. They’ll stay fresh for about a week. If you want to keep them longer, freeze them in a single layer and then transfer to a container—just thaw at room temperature when you’re ready to enjoy!
- Decorating Fun: If you’re icing your cookies, let them cool completely before adding any toppings. This prevents the icing from melting. Get creative with colors and designs—it’s a great way to personalize your cookies for any occasion!
With these tips in your back pocket, you’ll be well on your way to baking heart cookies that not only look adorable but taste fantastic too. Happy baking!
Nutritional Information
Okay, let’s chat about the nutritional side of these delightful heart-shaped cookies! While I’m all about enjoying them in moderation, it’s always good to know what’s in our treats, right? Here’s a rough estimate of the nutritional values per cookie:
- Calories: 150
- Fat: 8g
- Saturated Fat: 5g
- Unsaturated Fat: 3g
- Trans Fat: 0g
- Cholesterol: 30mg
- Sodium: 50mg
- Carbohydrates: 18g
- Fiber: 0g
- Sugar: 10g
- Protein: 2g
Keep in mind that these values can vary based on your specific ingredients and portion sizes. But hey, whether you’re indulging in one or sharing with friends, these cookies are sure to bring a smile to your face! Enjoy every bite and bake with love!
FAQ Section
How do I store leftover cookies?
Great question! To keep those delicious heart-shaped cookies fresh, store them in an airtight container at room temperature. This will help maintain their texture and flavor for up to a week. If you find yourself with more cookies than you can eat, don’t worry! You can also freeze them. Just place the cooled cookies in a single layer on a baking sheet to freeze them individually, then transfer them to a freezer-safe container. When you’re ready to enjoy them, simply let them thaw at room temperature—easy peasy!
Can I use different cookie cutters?
Absolutely! One of the best things about this cookie dough recipe is its versatility. While I love the classic heart shape, you can totally use any cookie cutter you have on hand. Stars, flowers, or even fun animal shapes work beautifully! Just keep in mind that baking times might vary slightly depending on the size and thickness of your cookies, so keep an eye on them as they bake.
What can I use for decoration?
The decorating possibilities are endless and oh-so-fun! I love using royal icing or buttercream to give my cookies a colorful touch. You can also sprinkle them with colorful sugar or confetti sprinkles right before they go in the oven for a sweet crunch. If you want to go even further, try drizzling melted chocolate or adding a fruit glaze. Get creative and make each cookie a work of art—after all, it’s all about having fun in the kitchen!
Storage & Reheating Instructions
Alright, let’s make sure those delicious heart-shaped cookies stay fresh and tasty! Once your cookies have cooled completely, the best way to store them is in an airtight container. This keeps them from getting stale and helps maintain that delightful texture. I usually line the container with some parchment paper to keep things extra fresh. They’ll stay good for about a week at room temperature—perfect for snacking!
If you somehow have leftovers (which is rare in my house!), you can also freeze these cookies for longer storage. Just place them in a single layer on a baking sheet to freeze them individually first. Once they’re frozen solid, transfer them to a freezer-safe container or a resealable plastic bag. They can last in the freezer for up to two months—just make sure to label them so you don’t forget about your sweet stash!
When you’re ready to enjoy a cookie (or two!), simply let them thaw at room temperature for about 30 minutes. No need to reheat them if you don’t want to, as they’re just as tasty at room temperature! But if you’re craving that warm, just-baked feel, you can pop them in the microwave for about 10-15 seconds. Keep an eye on them—you don’t want them to get too hot! Enjoy every bite of your sweet creations!
Print
Heart Cookie Cutter: 5 Ways to Bake Pure Happiness
- Prep Time: 15 minutes
- Cook Time: 12 minutes
- Total Time: 57 minutes
- Yield: 24 cookies 1x
- Category: Dessert
- Method: Baking
- Cuisine: American
- Diet: Vegetarian
Description
A sweet and simple recipe for heart-shaped cookies using a heart cookie cutter.
Ingredients
- 2 cups all-purpose flour
- 1 cup unsalted butter, softened
- 1 cup granulated sugar
- 1 large egg
- 1 tsp vanilla extract
- 1/2 tsp baking powder
- 1/4 tsp salt
Instructions
- Preheat your oven to 350°F (175°C).
- In a bowl, cream together the butter and sugar until light and fluffy.
- Add the egg and vanilla, mixing until well combined.
- In another bowl, whisk together the flour, baking powder, and salt.
- Gradually add the dry ingredients to the wet mixture, stirring until a dough forms.
- Wrap the dough in plastic wrap and refrigerate for 30 minutes.
- Roll out the dough on a floured surface to about 1/4 inch thick.
- Use the heart cookie cutter to cut out shapes.
- Place cookies on a baking sheet lined with parchment paper.
- Bake for 10-12 minutes or until the edges are lightly golden.
- Let cool before decorating if desired.
Notes
- Store cookies in an airtight container.
- Use icing or sprinkles for decoration.
- Chill the dough for easier handling.
Nutrition
- Serving Size: 1 cookie
- Calories: 150
- Sugar: 10g
- Sodium: 50mg
- Fat: 8g
- Saturated Fat: 5g
- Unsaturated Fat: 3g
- Trans Fat: 0g
- Carbohydrates: 18g
- Fiber: 0g
- Protein: 2g
- Cholesterol: 30mg
Keywords: Heart Cookie Cutter, cookies, baking, dessert


