
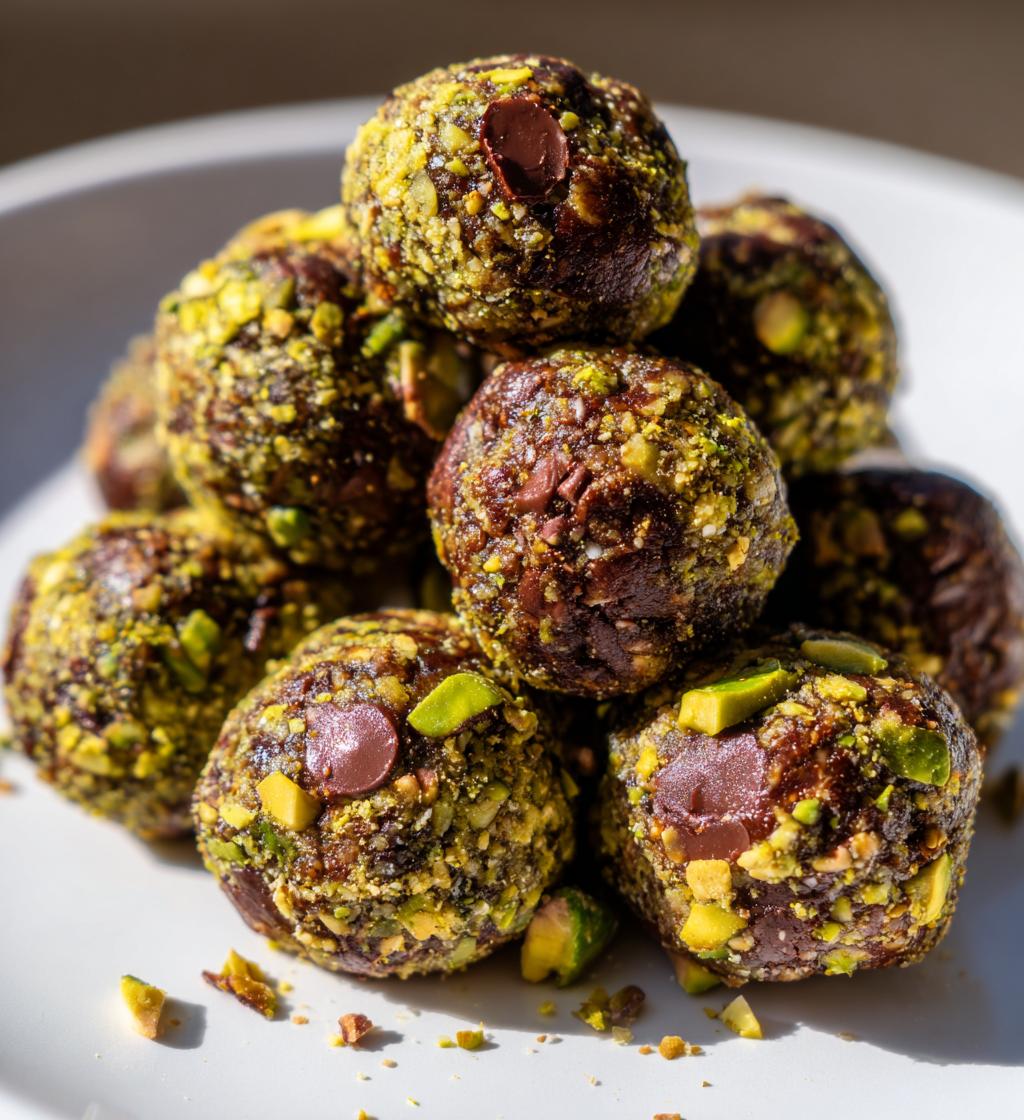
Pistachio Chocolate Energy Balls: 7 Irresistible Benefits
Let me tell you about my absolute favorite go-to snack: Pistachio Chocolate Energy Balls! These little bites of joy are not just quick and easy to whip up, but they’re also packed with energy to power you through your day. I love making a big batch on Sunday nights, and by Monday, they’re ready to grab on my way out the door. The combination of creamy pistachios and rich dark chocolate is simply irresistible! Plus, they’re great for a midday pick-me-up or even a post-workout treat. Trust me, once you try these, you’ll be making them all the time. Your taste buds will thank you!
Ingredients for Pistachio Chocolate Energy Balls
- 1 cup shelled pistachios, finely chopped
- 1 cup pitted dates, chopped
- 1/2 cup dark chocolate chips
- 1/4 cup unsweetened cocoa powder
- 1/4 cup honey
- 1/2 teaspoon vanilla extract
How to Prepare Pistachio Chocolate Energy Balls
Making these Pistachio Chocolate Energy Balls is as easy as pie—well, easier, actually! Follow these simple steps, and you’ll have a deliciously energizing snack ready in no time. Let’s dive in!
Step 1: Blend the Pistachios
First things first, grab your food processor and toss in the shelled pistachios. You’ll want to blend them until they’re finely chopped—think coarse sand but not powdery. This texture is super important because it gives the energy balls their delightful crunch while still allowing them to stick together later on.
Step 2: Combine the Ingredients
Now, it’s time to add all those yummy ingredients! In the same processor, add the chopped dates, dark chocolate chips, cocoa powder, honey, and vanilla extract. Pulse everything together until the mixture is sticky and holds together when you pinch it. You might need to scrape down the sides a couple of times to make sure everything gets mixed in well. Trust me; the smell will be heavenly!
Step 3: Form the Energy Balls
Once your mixture is ready, it’s ball-making time! With clean hands, grab a small amount of the mixture and roll it into a ball about the size of a tablespoon. Make sure they’re nice and compact; this helps keep them from falling apart later. Place each ball on a lined tray or plate as you go. It’s okay if they’re not perfect; they’re going to taste amazing regardless!
Step 4: Chill for Best Results
Finally, pop those energy balls in the fridge for at least 30 minutes. This chilling time is crucial because it helps them firm up, making them easier to grab and enjoy whenever you need a quick energy boost. After they’re chilled, you’re all set to indulge in these little bites of goodness!
Nutritional Information for Pistachio Chocolate Energy Balls
When you’re snacking on these Pistachio Chocolate Energy Balls, it’s nice to know what you’re fueling your body with! Here’s an estimated breakdown of the nutritional values per serving, which is typically 2 energy balls. Keep in mind that these values can vary slightly based on the specific ingredients you use.
- Calories: 150
- Fat: 7g
- Saturated Fat: 2g
- Unsaturated Fat: 5g
- Trans Fat: 0g
- Carbohydrates: 20g
- Fiber: 3g
- Sugar: 10g
- Protein: 3g
- Sodium: 5mg
- Cholesterol: 0mg
These little bites are not only delicious but also provide a great source of energy, making them perfect for a quick snack or a post-workout treat. Enjoy the benefits while treating your taste buds!
Tips for Success
Here are a few tips to ensure your Pistachio Chocolate Energy Balls turn out perfectly every time! First off, using fresh, soft dates will make a huge difference in the texture and sweetness. If your dates are a bit dry, soak them in warm water for about 10 minutes to soften them up before blending. Also, feel free to adjust the sweetness level by adding more or less honey based on your taste preference. And don’t be afraid to mix things up! You can throw in some chia seeds, flaxseeds, or even a splash of almond extract for a twist. Lastly, if you find the mixture too crumbly, a splash of water or a bit more honey can help bring it all together. Happy snacking!
FAQ about Pistachio Chocolate Energy Balls
Can I substitute the dates?
Absolutely! If you don’t have dates on hand, you can use dried fruit like apricots or figs, but keep in mind they might change the flavor a bit. You could also try using maple syrup or agave nectar for a liquid sweetener, but you might need to adjust the other ingredients to maintain the right consistency. Just remember, dates add that lovely sticky texture that helps bind everything together, so choose your substitute wisely!
How long do these energy balls last?
These Pistachio Chocolate Energy Balls are perfect for meal prep! They can last up to a week in the fridge when stored in an airtight container. If you want to keep them longer, you can freeze them for up to two months. Just make sure to separate them with parchment paper if you’re stacking them, so they don’t stick together. That way, you’ll always have a quick energy boost ready to go!
Can I make these energy balls nut-free?
Definitely! If you need to go nut-free, you can substitute the pistachios with seeds like sunflower seeds or pumpkin seeds. They’ll give you that same delightful crunch and a boost of nutrition! Just make sure to check for any allergies if you’re sharing them. You could also try using oats to help bind everything together, which will add a nice texture as well. Happy experimenting!
Why You’ll Love This Recipe
- Quick and easy to make—perfect for busy days!
- Healthy snack option that’s packed with energy.
- No baking required, making cleanup a breeze.
- Customizable with your favorite nuts, seeds, or add-ins.
- Rich chocolate flavor combined with the crunch of pistachios.
- Great for meal prep—make a batch and enjoy all week!
- Kid-friendly and sure to satisfy sweet cravings without the guilt.
Storage & Reheating Instructions
Storing your Pistachio Chocolate Energy Balls is super easy! Just pop them in an airtight container and keep them in the fridge, where they’ll stay fresh for up to a week. If you’ve made a big batch and want to save some for later, you can freeze them for up to two months. Just remember to separate layers with parchment paper to prevent them from sticking together!
As for serving, there’s no need to reheat these little gems. They’re best enjoyed straight from the fridge, cool and packed with flavor. Perfect for a quick grab-and-go snack! So, make sure to keep them handy for when those energy cravings hit!
Print
Pistachio Chocolate Energy Balls: 7 Irresistible Benefits
- Prep Time: 10 minutes
- Cook Time: 0 minutes
- Total Time: 40 minutes
- Yield: 20 energy balls 1x
- Category: Snack
- Method: No-Bake
- Cuisine: American
- Diet: Vegan
Description
A quick and easy snack packed with energy.
Ingredients
- 1 cup pistachios
- 1 cup dates, pitted
- 1/2 cup dark chocolate chips
- 1/4 cup cocoa powder
- 1/4 cup honey
- 1/2 teaspoon vanilla extract
Instructions
- Blend pistachios in a food processor until finely chopped.
- Add dates, dark chocolate chips, cocoa powder, honey, and vanilla.
- Process until the mixture is sticky and holds together.
- Form small balls with your hands.
- Chill in the fridge for at least 30 minutes.
Notes
- Store in an airtight container in the fridge.
- Use unsweetened cocoa powder for lower sugar content.
- Feel free to add your favorite nuts or seeds.
Nutrition
- Serving Size: 2 energy balls
- Calories: 150
- Sugar: 10g
- Sodium: 5mg
- Fat: 7g
- Saturated Fat: 2g
- Unsaturated Fat: 5g
- Trans Fat: 0g
- Carbohydrates: 20g
- Fiber: 3g
- Protein: 3g
- Cholesterol: 0mg
Keywords: Pistachio Chocolate Energy Balls, healthy snack, no-bake energy balls


